Ci sono
ancora...
In questi
giorni ho preso una specie di pausa dai miei progetti perlinosi. Perché? Sono
in una fase di ricerca di "stabilità" del progetto, ricerca della
tecnica e dei materiali giusti per realizzare quello che la mia mente ha
"visto". Di solito funziono così, vedo-disegno-provo... ed è questo "provo"
che porta via tempo perché poi si sa' come finisce, si vede qualcos'altro e non
ci si ferma più. Comunque, non sono ancora del tutto sicura delle mie scelte ed
è proprio per questo che in questi giorni mi sono distratta col feltro ed ho
deciso di realizzare questo tutorial per voi sul punto festone. :-)
I'm still here... In these days I
have taken a break from my beaded projects. Why? I'm searching some stability to
realize my project, I'm searching for the right technique and materials to
create what I have in my mind. Usually I
work in this way, see-draw-try... and while I'm trying I waste time, because
than you know that you see other things and you can't stop trying. However, I'm
not sure of my choices and for this reason in these days I distract myself with
felt, and I have decided to realize this tutorial for you using festone stitch.
:-)
Il punto
festone unisce e chiude tra loro due tessuti sovrapposti, nel nostro caso
feltro e pannolencio, e a mio avviso ci permette di avere un lavoro visivamente
più pulito. E' dato da un insieme di linee o punti tra loro perpendicolari. Per
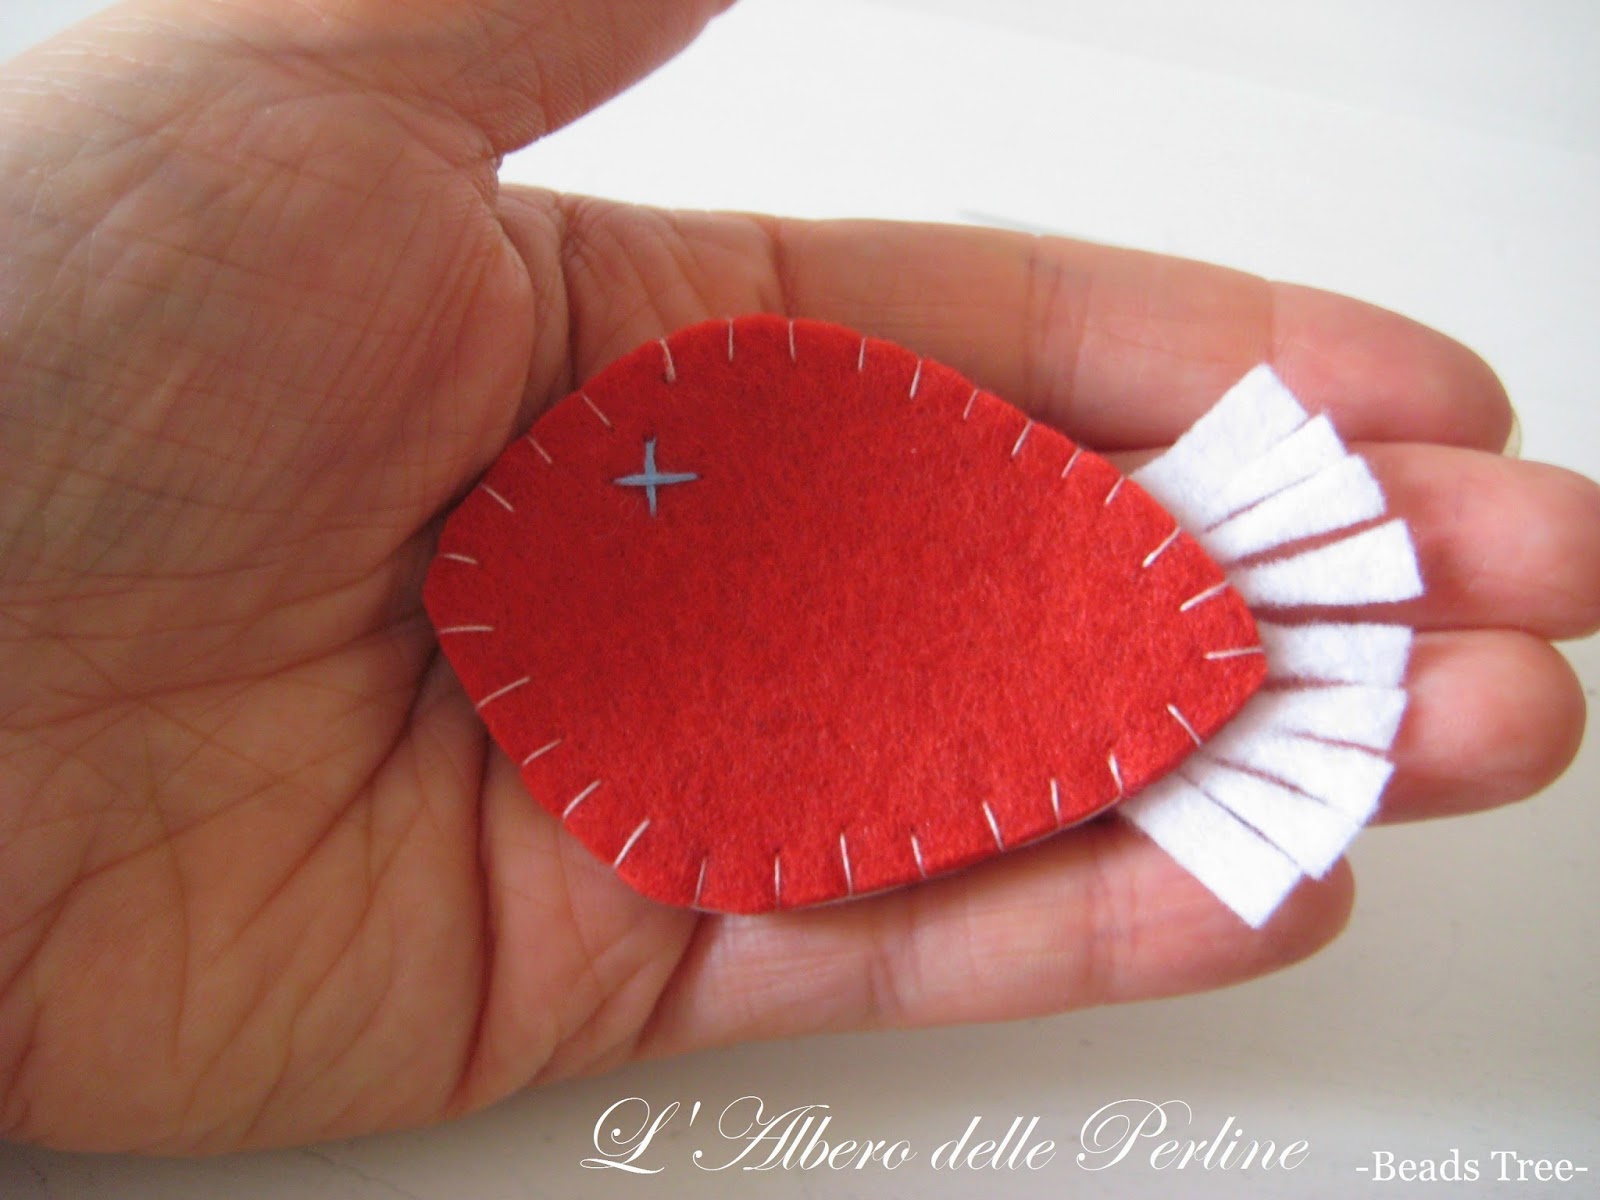
dimostrarvi come ottenerlo ho scelto di realizzare un piccolo pesciolino rosso
in feltro ma naturalmente potrete scegliere di creare qualsiasi cosa e magari
coinvolgere i vostri bimbi come me per le ultime decorazioni. Se non siete
bravi nel disegno vi consiglio di andare in cucina, rovistare tra le vostre formine
per i biscotti e prenderne una in prestito per rubarle la sagoma! ;-)
Pronti?
Si parte!
Festone stitch bond and close between them two overlapping fabrics, in
this case felt. When you use them you obtain a good looking job, made of perpendicular
lines. To explain how to obtain this creation, I have chosen to realize a little red fish
with felt. You can realize what you want
and maybe you could involve your babies
for last decoration, like I did. If you
aren't good drawing, you can go in your kitchen and looking for your cookie
shapes, chose one and steal its shape! ;-)
Are
you ready? Go!
Per questo progetto vi occorreranno due sagome di feltro della stessa forma, forbici, ago e filo.
For this project you need two felt shapes of the same dimension, scissor, needle and thread.
Fate combaciare tra loro le sagome, con il dito indice piegate leggermente all'indietro la sagoma posteriore ed entrate con l'ago nella sagoma anteriore dal dietro verso avanti.
Bond between them the shapes of felt, bend back the posterior shape and with the needle enter in the anterior shape from the back to the front.
Riunite le due sagome di feltro e (*) rientrate con l'ago in entrambe da dietro verso avanti avendo cura di uscire con l'ago nello stesso punto di prima. Avete formato il primo tratto verticale.
With a needle (*) enter in both shapes from the back to the front, then get out from the same previous point. In this way you have obtained the first vertical stitch.
Infilate l'ago a sinistra e sotto tale punto.
Insert the needle to the left and below this stitch.
Riportatevi con l'ago posteriormente a 5 mm di distanza dal punto precedente, entrate sempre da dietro verso avanti ma prima di tirare completamente il filo rientrate con l'ago al di sotto dell'asoletta che si è formata, tirate il filo (**). Avete formato il primo tratto orizzontale.
Take the needle behind at 0,19in of distance from the last stitch, enter always from the back to the front, but before completely pulling the thread enter with the needle in the loop that you have created, then pull the thread(**). You have obtained the first horizontal stitch.
Ripetete i passaggi da (*) a (**) fino ad aver impunturato tutto il vostro lavoro.
Repeat from (*) to (**) until you have finished your work.
Per realizzare l'ultimo tratto orizzontale e chiudere così il vostro lavoro infilate l'ago a sinistra e sotto il primo punto verticale eseguito.
To realize the last horizontal stitch and close definitively your work, insert the needle to the left and below the first vertical stitch you have made.
Rientrate con l'ago nello stesso punto da davanti verso dietro.
Enter with a needle in this stitch from the front towards the back.
Fate un nodo e poi tagliate il filo in eccesso.
Make a knot and trim the thread in excess.
Che ne dite, non è semplice? Basta solo un po' di pratica!
What do you think, is it easy? All you need is a little bit of practice!
In questo tutorial ho scelto di utilizzare feltro e filo a contrasto per facilitarvi nella "lettura" delle foto, per il vostro progetto scegliete voi.
Se volete
un punto più netto potete scegliere di mettere
il filo in doppio (attenzione a non separali con l'ago nei vari passaggi
e, soprattutto, a non intrecciarli), oppure di utilizzare un filo più spesso,
in quest'ultimo caso vi consiglio di provare
prima se l'ago attraversa con facilità il vostro tessuto altrimenti sarà
dura...
Buon
lavoro!
In this tutorial I used felt and thread in contrast to help visualizing
the project.
If you
want a clear stitch you can decide to use double thread (make attention to not divide
them with the needle and, above all, to not intertwine), or you can use a thick
thread, in this last case I recommend you to prove if the needle enter easily
in your fabric, otherwise work will be hard...
Good work!
Cornice in feltro rifinita attraverso il punto festone. Decorazioni con perline, corda e conchiglie.
-Felt frame with festone stitch. Decoration with beads, rope and shells-